Tile splashbacks are a great choice for both kitchens and bathrooms, especially in areas such as sinks where splashes and stains are inevitable. But how easy is it to tile a splashback by yourself? In this step-by-step guide, you’ll find everything you need to know on how to tile a bathroom or kitchen splashback, along with a list of all the tools and materials needed to do the job properly.
What Tools & Materials Do I Need to Tile a Splashback?
Before you get started laying your tiles, you’ll need to make sure you have all of the correct tools and materials in place. These include:
Tools You’ll Need:
- Tile Cutter or Wet Saw
- Notched Trowel
- Grout Float
- Tile Spacers
- Spirit Level
- Measuring Tape
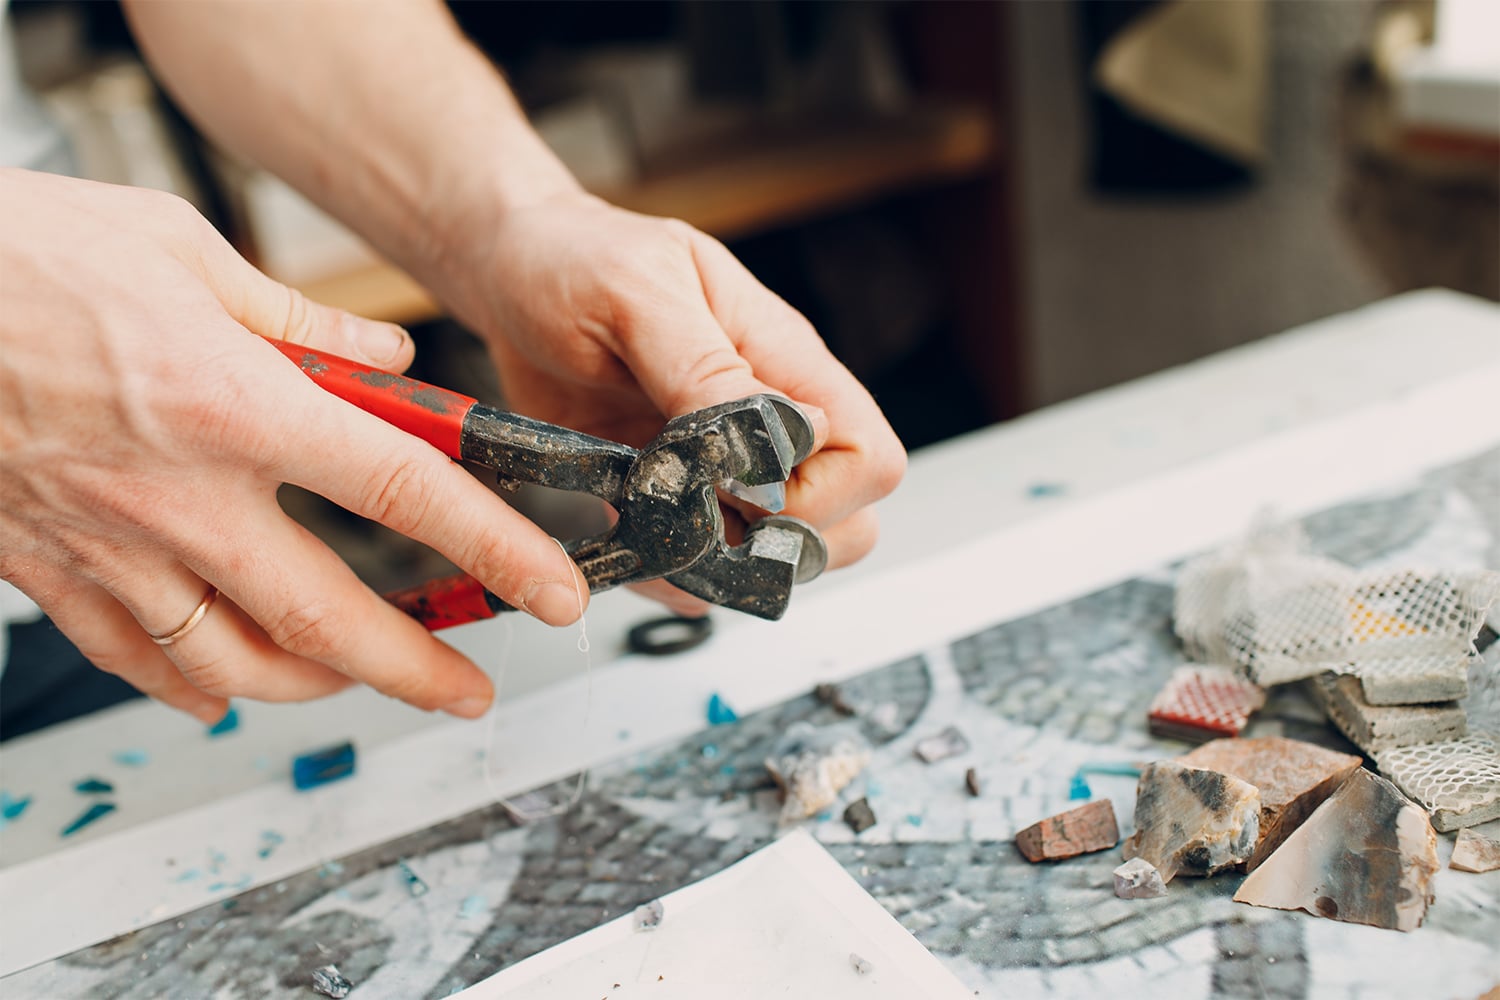
- Tile Nippers
- Bucket and Mixing Drill Attachment
- Clean Sponge
- Safety Gear (including Gloves, Goggles, and Masks)
Step-by-Step Guide on How to Tile a Kitchen Splashback
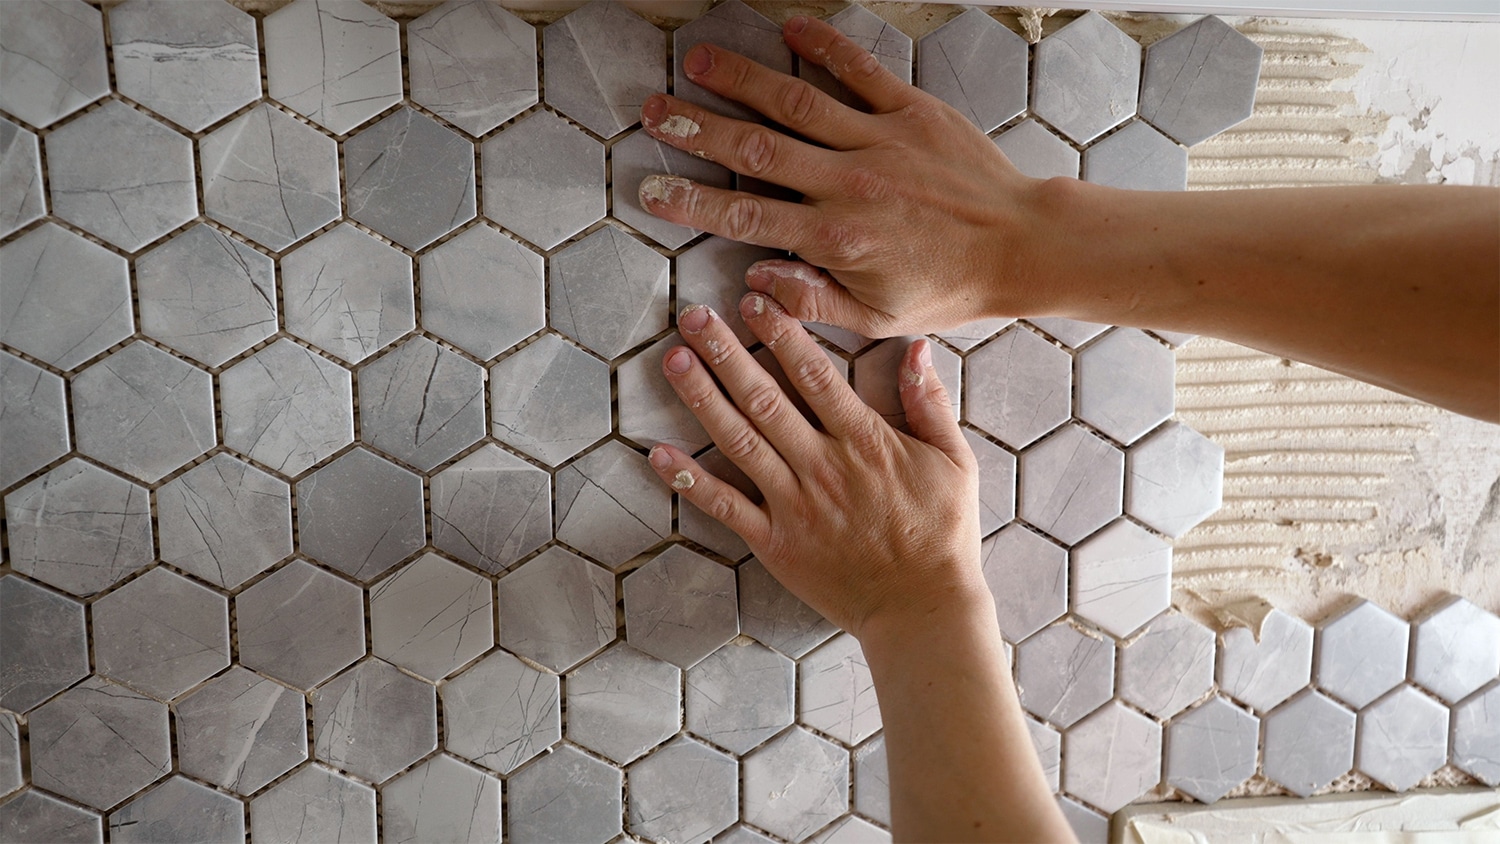
Now that you’ve got everything in place and you’ve made sure you have enough tiles, tile adhesive, and grout to complete the job, you can begin laying your tiles. Each of the steps below will take you through a clear way of doing this, but to ensure you get the best possible installation, make sure you follow each of them closely.