How to Lay Square Tiles
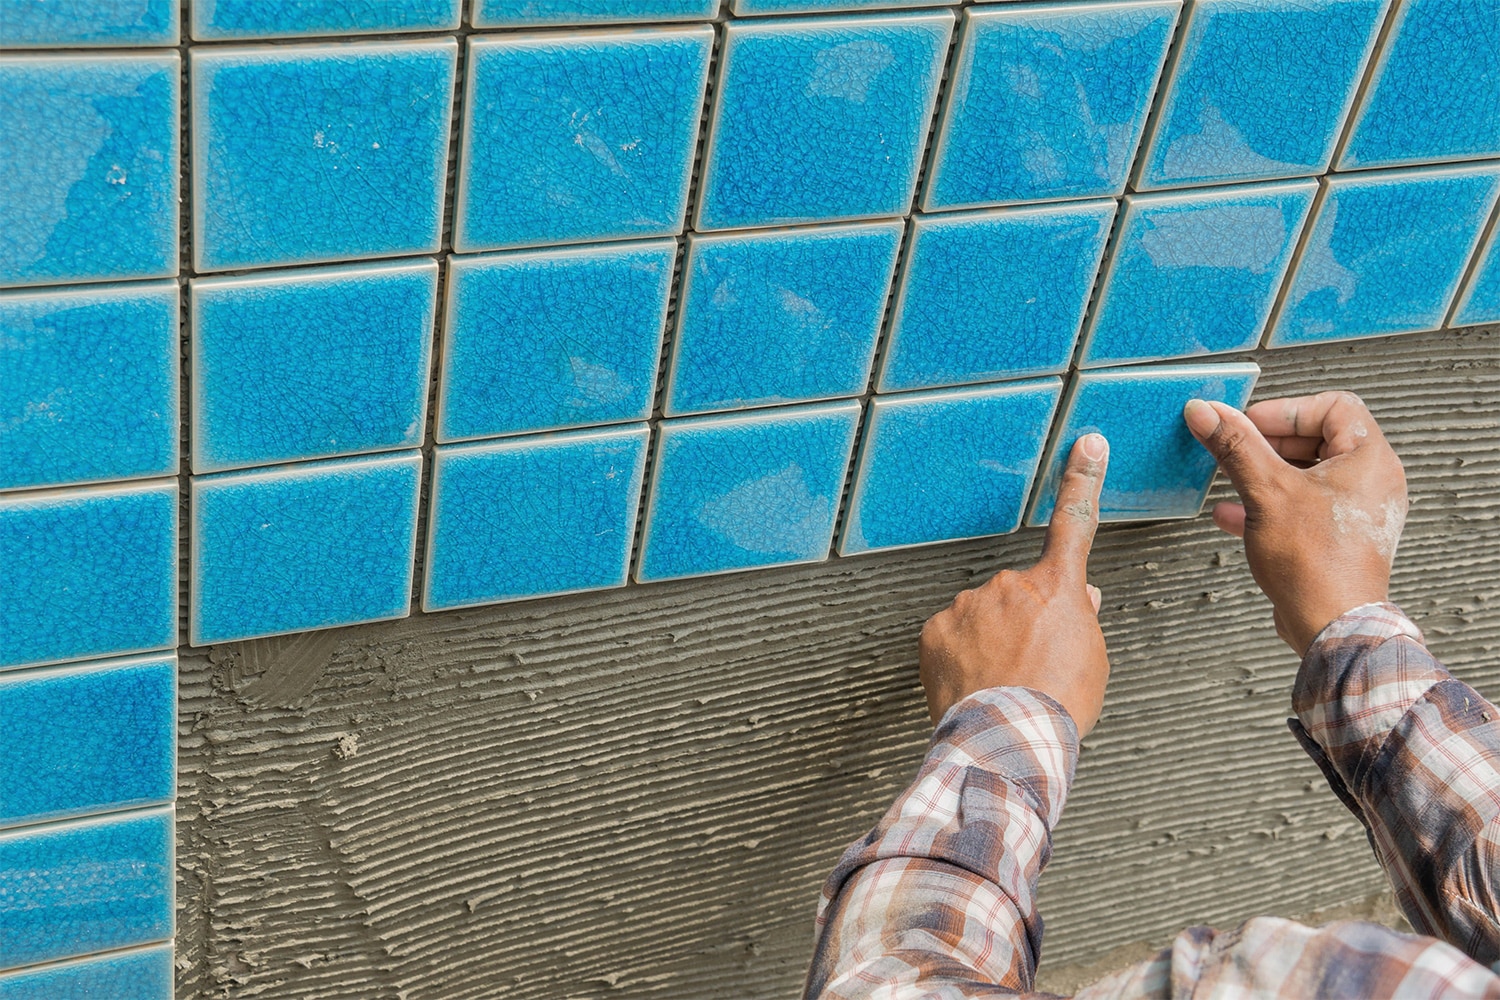
While tiles are available in a plethora of different shapes and sizes, one shape continues to reign supreme as the most popular: the square. Square tiles don’t only offer a classic look for any space, but they’re also perfect for creating uniformity and the vast range of colours and patterns they’re available in means you’ll find a square tile for any project.
But how do you lay square tiles yourself and still achieve that perfect finish? That’s what we’re going to look at today. Below, you’ll find a step-by-step guide on how to lay square tiles, along with a list of everything you need to do the job properly.
What Tools & Materials Do I Need to Lay Square Tiles?
Let’s start by looking at the tools and materials you need to lay square tiles. Here’s what you’ll need to gather together:
Tools You’ll Need:
- Tile Cutter/Wet Saw
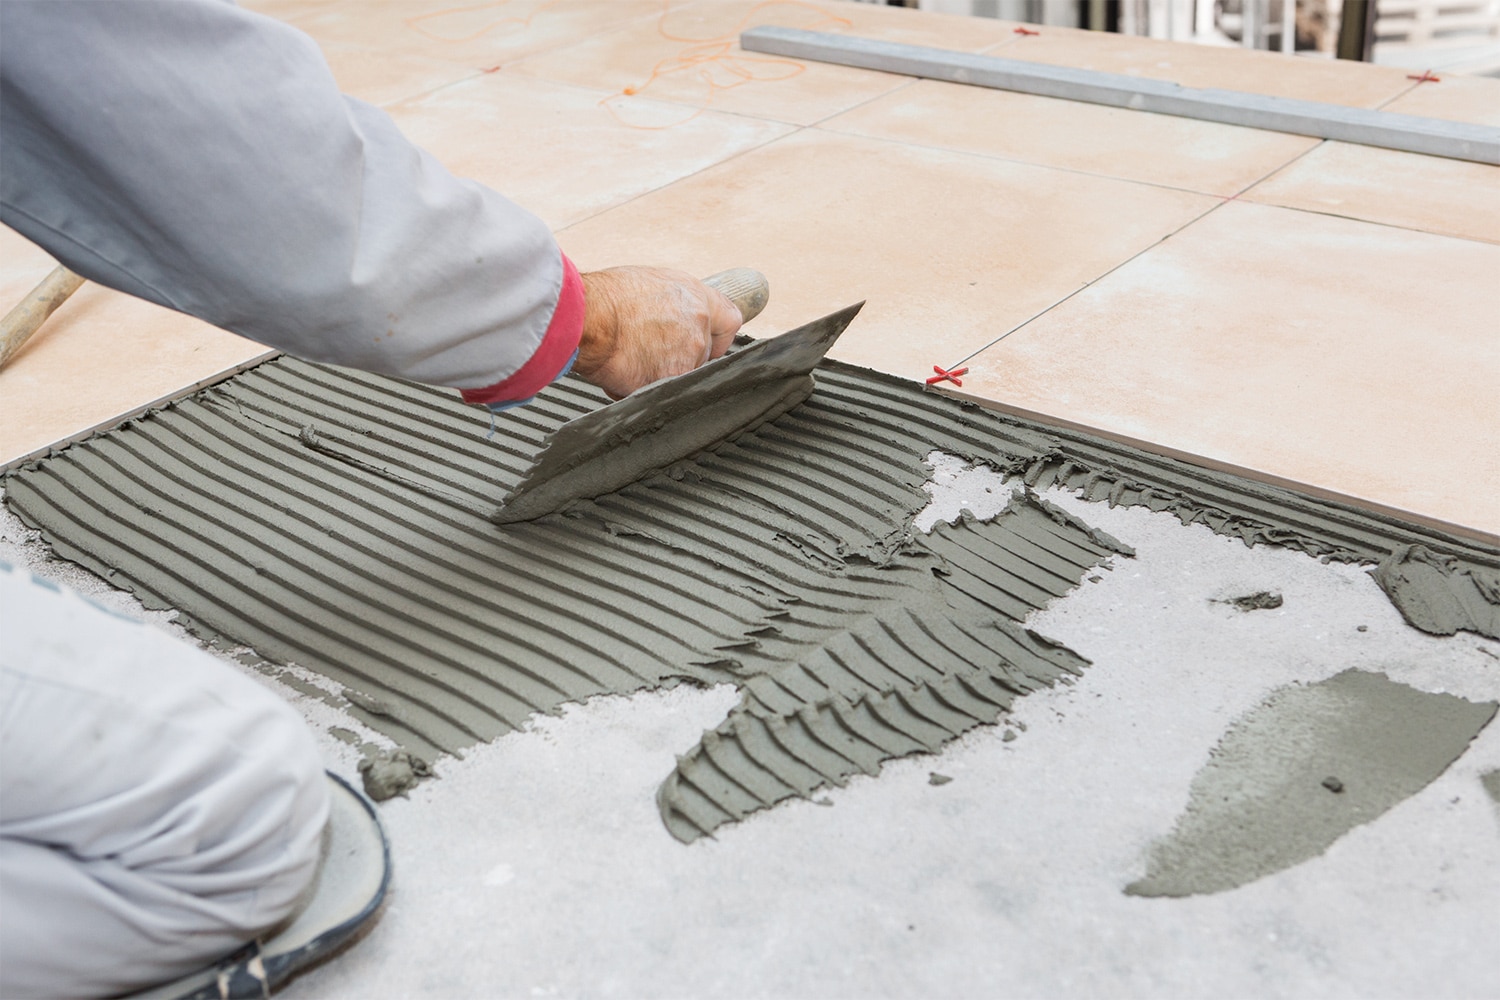
- Notched Trowel
- Grout Float
- Tile Spacers
- Spirit Level
- Measuring Tape
- Bucket
- Mixing Drill Attachment
- Clean Sponge
- Personal Protective Equipment (Goggles, Gloves, Mask)
Materials You’ll Need:
- Tiles
- Tile Primer
- Tile Adhesive
- Grout
- Sealant
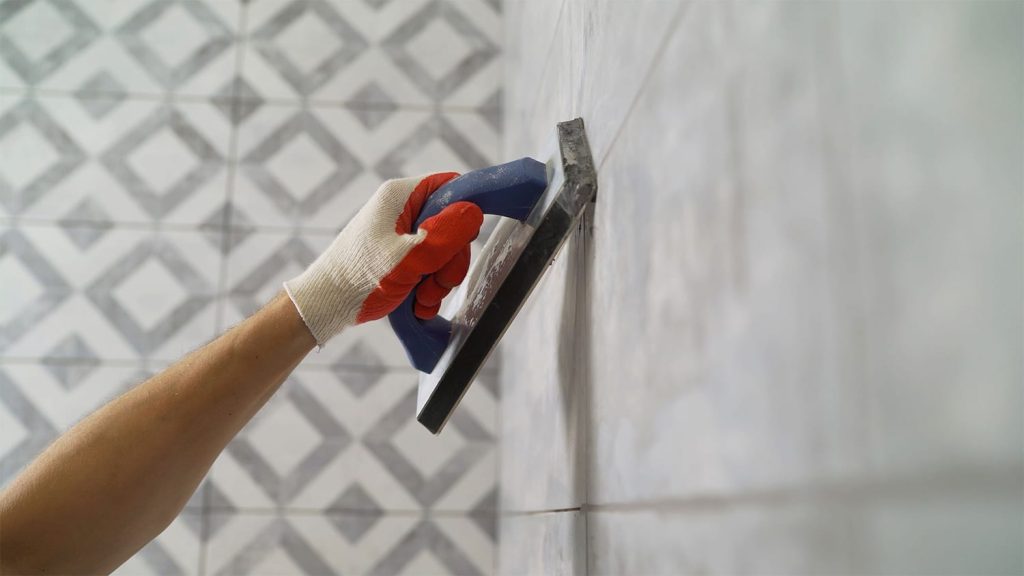
Step-by-Step Guide on How to Lay Square Tiles
Once you have all of your tools and materials sorted and close to hand, you can start working on your project. Each of the steps listed below will show you how to lay square tiles correctly, but we recommend reading through each of them before you start so you know what the whole process involves.