How to Fix Drummy Tiles Without Removing Them
Drummy tiles are a common issue in many homes, especially in older properties or poorly installed floors. If you tap on a tile and hear a hollow sound, it likely means the tile has lost contact with the adhesive beneath it. These loose tiles may not be visibly damaged, but if left unattended, they can crack, lift or lead to more serious structural problems.
What are drummy tiles and why do they happen
Drummy tiles refer to floor or wall tiles that sound hollow when tapped. This happens when there is a gap between the tile and the adhesive bed due to improper installation, poor quality glue, lack of back buttering or general wear and tear. It is also common in areas where there is movement in the substrate or water has seeped underneath. Knowing how to fix drummy floor tiles early can help prevent future issues and avoid expensive repairs.
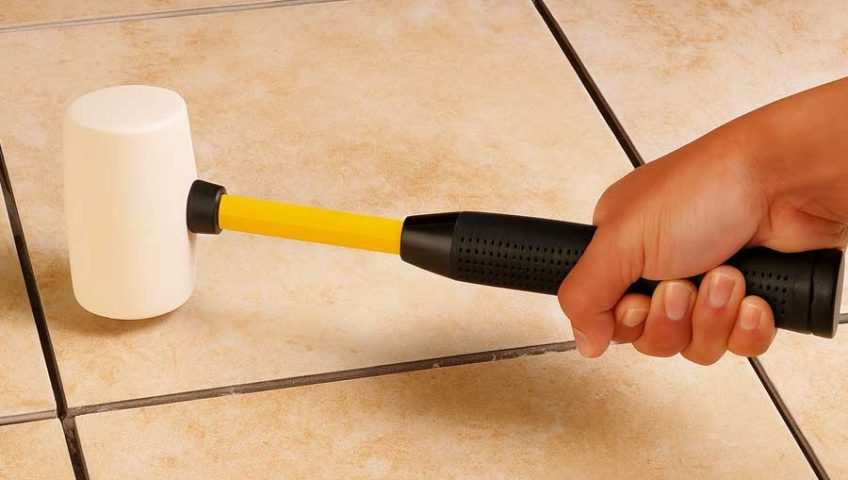
The first step is to inspect the tiled surface. Lightly tap on each tile with a solid object like a wooden stick or a small rubber mallet. If a tile produces a hollow sound compared to others, it is likely a drummy tile. You do not need to remove the entire tiled area to fix the issue. One of the most effective ways to repair drummy tiles is through injection methods that restore adhesion beneath the surface.
Step-by-step method to fix drummy tiles
Here is a simple breakdown of how to repair loose tiles without removing them. This method works well for single loose tiles or larger areas that have become hollow or detached.
- 1. Tap and find the problem spots
- 2. Drill holes between the grout lines
- 3. Clean the joints and vacuum the area
- 4. Inject adhesive into the cavities
- 5. Wait for the adhesive to cure
- 6. Regrout and clean the surface
1. Tap and find the problem spots
Start by tapping across the tiled surface and mark every drummy tile. Use chalk or a marker to identify the affected areas clearly. This step is important to ensure the repair targets all the hollow points in one go.
2. Drill holes between the grout lines
Use a suitable drill bit to carefully drill small holes between the tiles along the grout lines. These holes will act as entry points for the adhesive injection. Avoid drilling directly into the tiles to prevent cracking. A qualified tiler will know the best way to avoid damaging the surface while preparing for injection.
3. Clean the joints and vacuum the area
Once the holes are drilled, clean all grout joints around the affected tiles. Use a vacuum to suck out any dust, debris or loose fragments from the drilled holes. A clean cavity allows for better adhesion and proper flow of the injected material underneath the tile.
4. Inject adhesive into the cavities
With a specialised tiling injection system, inject a high-quality adhesive or bonding agent into the holes. This solution fills the void beneath the tile and re-bonds it to the substrate. Continue injecting until you see the adhesive rising slightly from nearby holes. This confirms that the cavity has been filled completely.
5. Wait for the adhesive to cure
Each product will have its own curing time, usually ranging from a few hours to 24 hours. Follow the manufacturer’s instructions to allow proper bonding. Avoid walking over the repaired area during this period to ensure the tiles are securely set again.
6. Regrout and clean the surface
Once the adhesive has cured, refill the drilled holes and grout lines using matching grout. Smooth it out with a sponge and clean the surface thoroughly. The tiles should now feel solid underfoot, without any hollow sound or movement.
Why use injection instead of tile removal
Fixing loose floor tiles using injection saves time, mess and cost. There is no need to remove the tile or replace it entirely. You also avoid damaging surrounding tiles, which is especially useful in bathrooms, kitchens and tiled living areas where matching replacements may not be available. Tilers often use this technique in high-end Melbourne renovations to preserve the original finish and avoid disruption.
You can fix one loose tile using the same injection method. As long as the tile is intact and not cracked, it can be re-bonded effectively without lifting it. A single drill hole near the centre of the tile is enough for adhesive to spread underneath and secure it back in place. This is a cost-effective option for isolated tile issues caused by minor movement or moisture.
If tiles continue to become drummy or loose, there may be an underlying problem with the substrate, moisture levels or original tile installation. In such cases, it is worth having a professional tiler assess the situation. Addressing the root cause early can prevent long-term damage and ensure the tiling system remains strong for years to come.
For minor cases, confident DIYers can attempt the injection method using available repair kits. However, for larger tiled areas, or when dealing with sensitive surfaces like natural stone or porcelain, it is best to call a professional tiler. They will have the right tools, knowledge and products to carry out a reliable drummy tiles repair job without causing further issues.
Final thoughts
Drummy tiles do not always mean you need a full replacement. By using a targeted injection repair process, you can bring life back into your floor without the hassle of removal. Tapping, drilling, cleaning, injecting and regrouting are all part of a smart and efficient solution to common tiling problems. Whether it is one loose tile or an entire patch, this repair method can restore your floor and save you money in the long run.